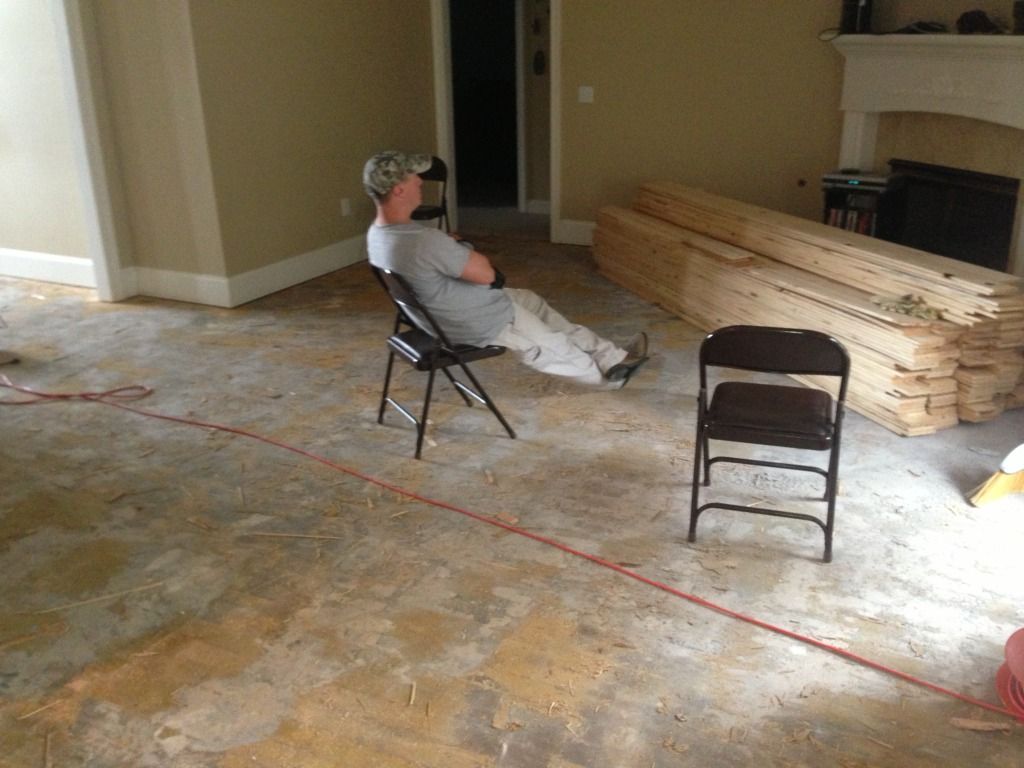
I decided to take this on myself. I am hoping for a controlled disaster. I have the 5 in wide 1/2 in thick pine acclimating in the house now and will start the demolition of the existing floor tomorrow. For a little background I have been telling my wife since we bought this house 3 years ago that I would do this and never made the time. We are 4 weeks from having another little boy and she says now or never so here we go.
Total sq footage 876.
Existing floor is glued down engineered oak? And 1x1 tile.
Start tomorrow will update with pics, headaches and total savings by DIY vs contractor at the end.
Documenting my new floor install FINISHED
-
bulldog ducker
- Duck South Addict
- Posts: 1080
- Joined: Sun Jan 30, 2005 3:44 pm
- Location: Madison MS
- Contact:
Documenting my new floor install FINISHED
Last edited by bulldog ducker on Mon Jul 15, 2013 7:31 am, edited 7 times in total.
HR Dutch Charles Sampson Bearden ( Charlie)
Re: Documenting my new floor install for your pleasure
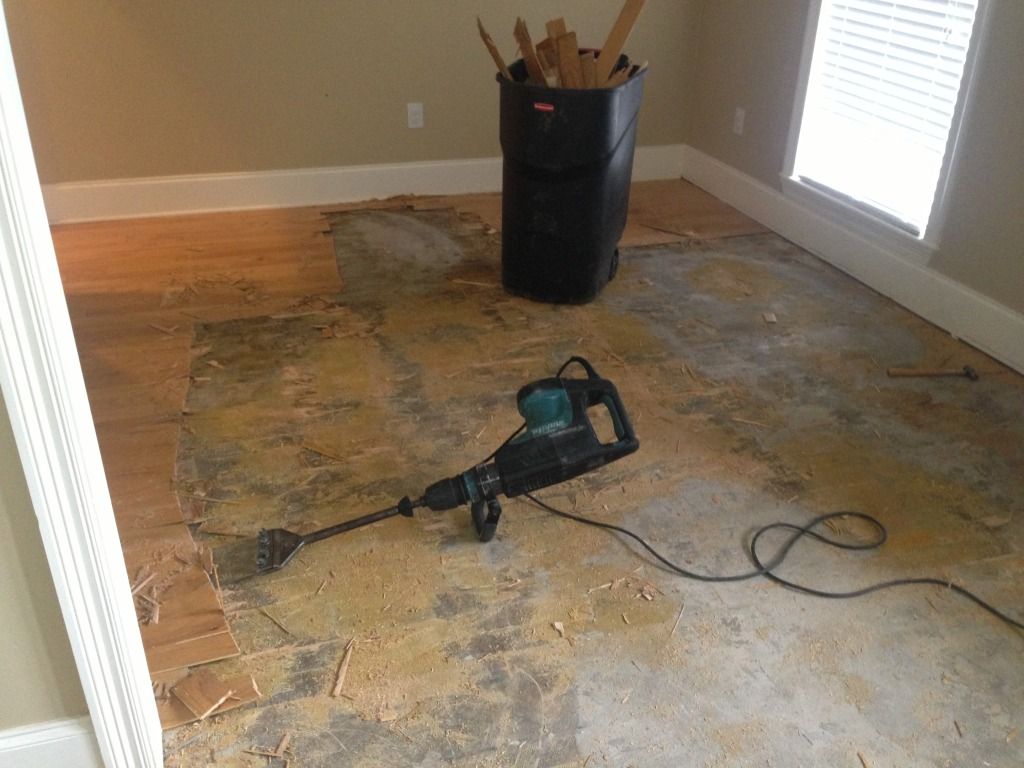
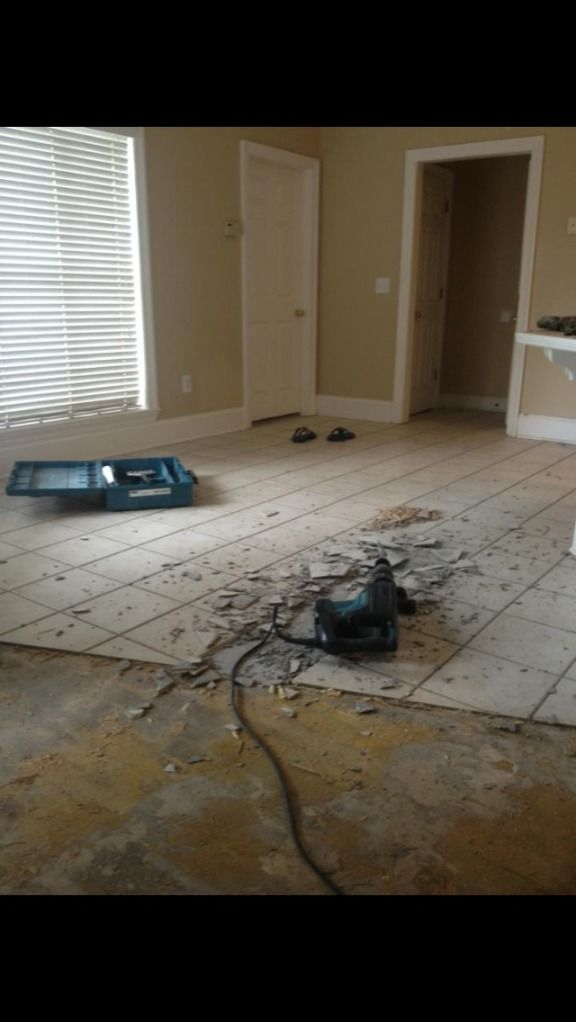
A pneumatic air hammer with a chisel tip works wonders on that tile. I cleaned up some in no time when working on a floor. I borrowed them to hook to my compressor, but they are cheap at lowes/hd.

Re: Documenting my new floor install for your pleasure
And don't face into the sun. 
ISAIAH 40:31
“I ask you to judge me by the enemies I have made.”
― Franklin D. Roosevelt
“I ask you to judge me by the enemies I have made.”
― Franklin D. Roosevelt
-
bulldog ducker
- Duck South Addict
- Posts: 1080
- Joined: Sun Jan 30, 2005 3:44 pm
- Location: Madison MS
- Contact:
Re: Documenting my new floor install for your pleasure
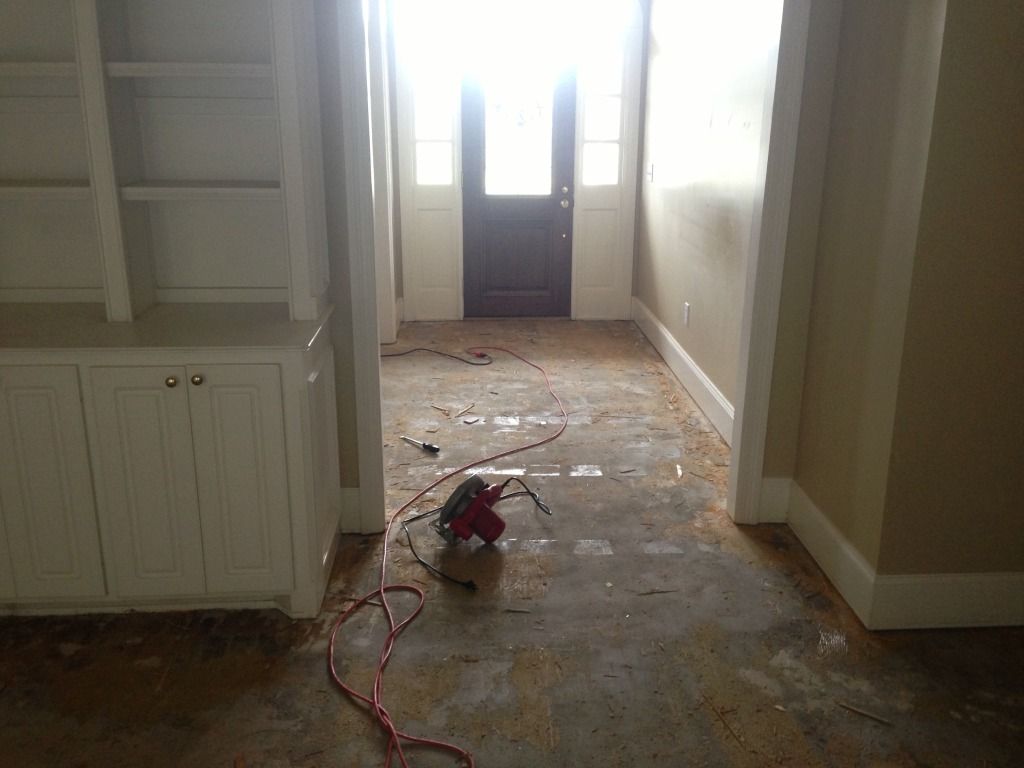
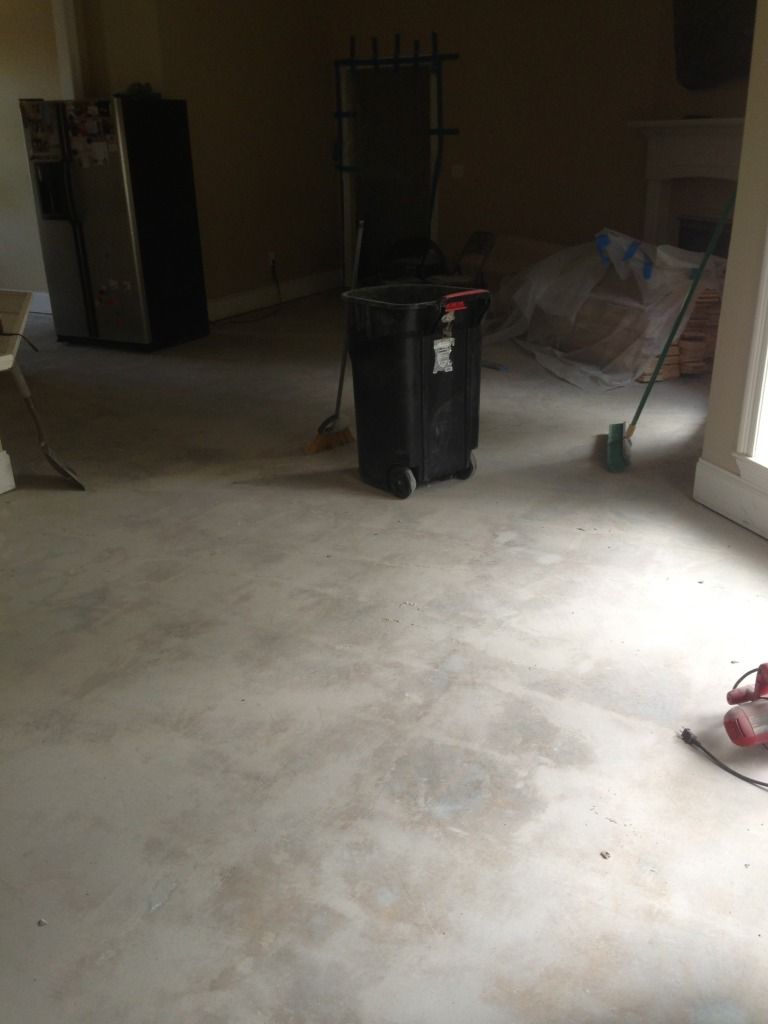
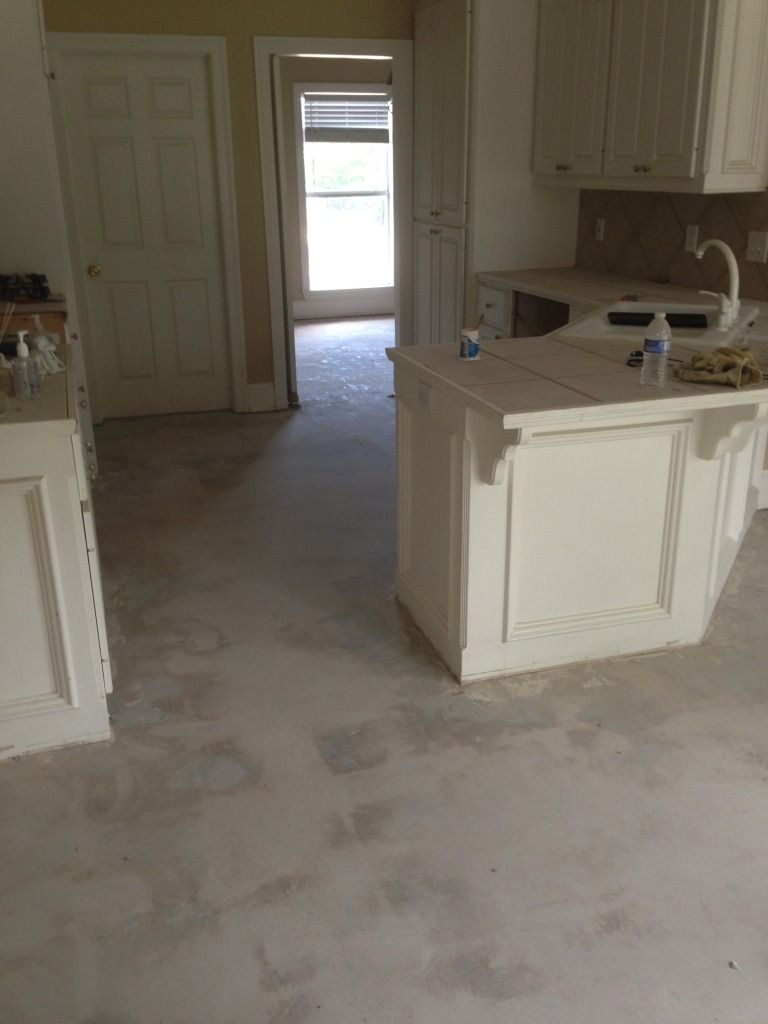
Hot it down to bare concrete in about 24 working hours. Had help from a friend of mine for about 10 of those. Here are some pics. Will update tomorrow with the tools used and how much those sucked. Hopefull will be able to start laying the floor later this afternoon or tonight. I don't think I am going to have to level anything.
HR Dutch Charles Sampson Bearden ( Charlie)
-
lilwhitelie
- Duck South Addict
- Posts: 2092
- Joined: Sat Feb 12, 2005 8:21 pm
- Location: brandon, ms
Re: Documenting my new floor install for your pleasure updat
sho cleaned up nicely!!!!!!!! sure the finished product will look just as clean. Kudos for tackling such a task.
HRCH JB'S LIL WHITE LIE
-
bulldog ducker
- Duck South Addict
- Posts: 1080
- Joined: Sun Jan 30, 2005 3:44 pm
- Location: Madison MS
- Contact:
Re: Documenting my new floor install for your pleasure updat
Got this done tonight... Laying this stuff is harder than I thought it would be. This is not a puzzle that you just cut the pieces to. I had to call a buddy that did floors in is past career and he got me back on track( thought I was going to have an anxiety attack for a min there). He calmed me down and said that every joint will not be perfect just get it as close as you can. I didn't want to use concrete nails but there was no way around it. Floor guy swears that you will not notice them when all is stained and finished.
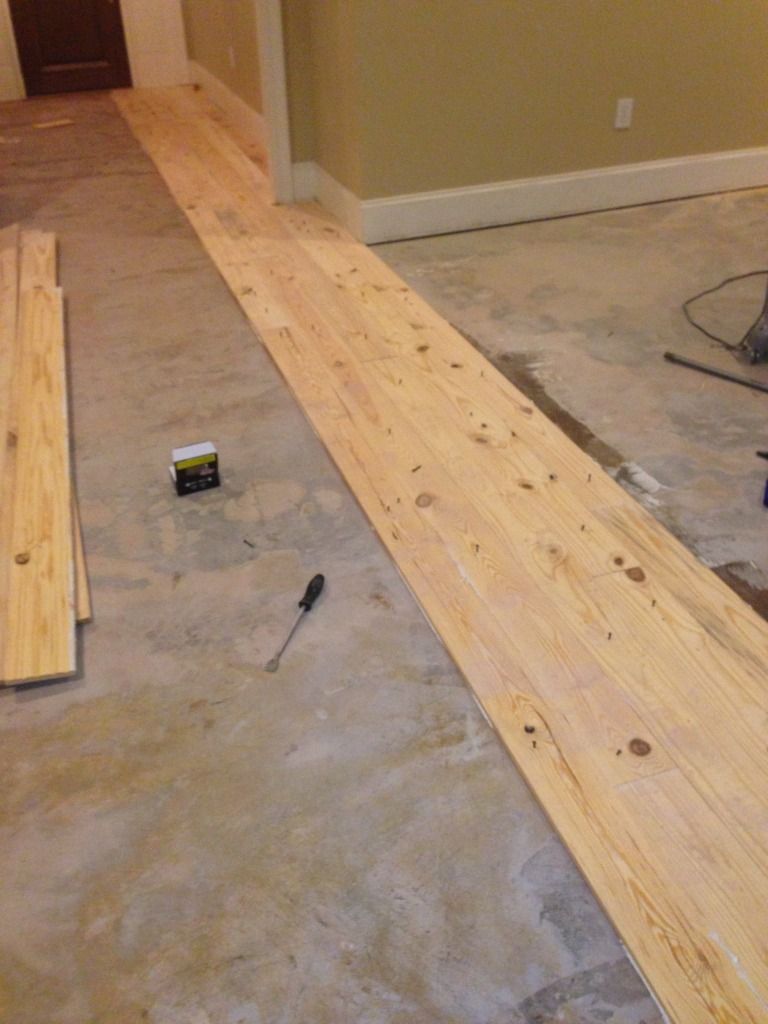
You can see the nails in this one
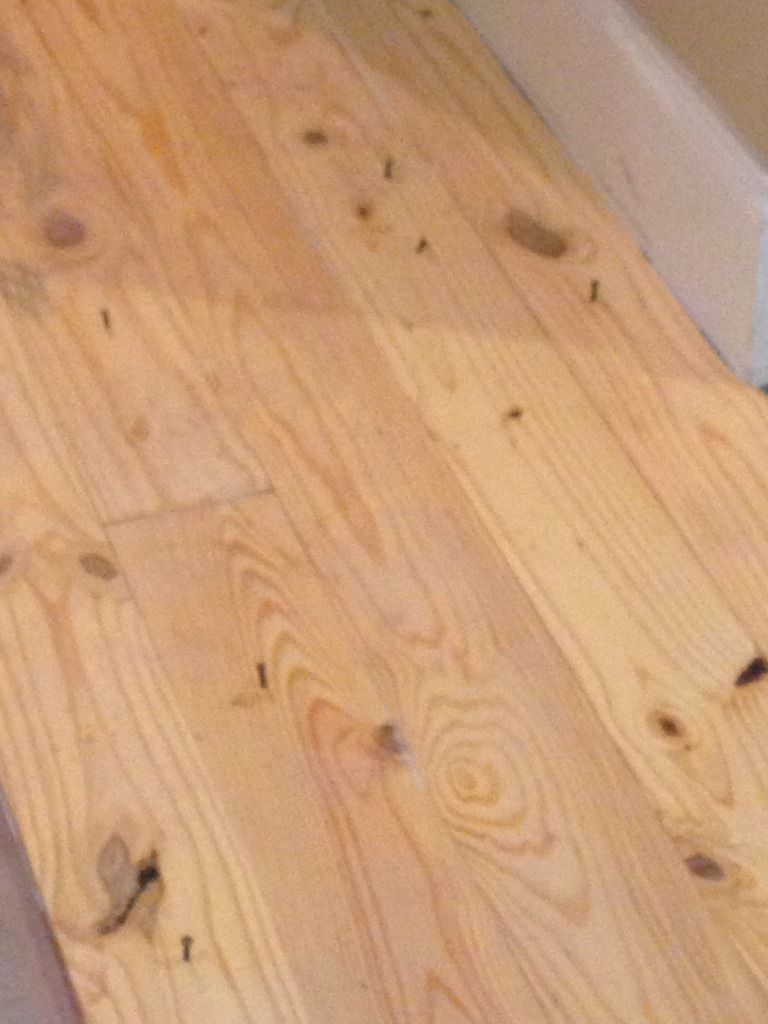
You can see the nails in this one
HR Dutch Charles Sampson Bearden ( Charlie)
-
BAY KINGFISHER

- Duck South Addict
- Posts: 1827
- Joined: Fri Jul 25, 2003 8:26 pm
- Location: Bay St. Louis ,MS
Re: Documenting my new floor install for your pleasure updat
looks good!! What type of glue are you using? You can use blue masking tape to help hold together; also some pergo straps/ binders are helpful. When finished you will not see the holes. You could always just side brace as well with a piece of scrap to keep your run from walking on you.
HRCH Mr. Buck's Delta Do "Dee" MH
-
bulldog ducker
- Duck South Addict
- Posts: 1080
- Joined: Sun Jan 30, 2005 3:44 pm
- Location: Madison MS
- Contact:
Re: Documenting my new floor install for your pleasure updat
I am using Bostiks Duragrip. Works really easy and supposed to be comparable to bostiks best. Nailing into those boards almost killed me last night. Everyone keeps telling me not to worry about it. Sounds like you may have some experience at this... Any idea what is best to fill nail holes and spaces between boards? Do I just buy the ready made wood filler that is stainable or make my own with the sand dust?
HR Dutch Charles Sampson Bearden ( Charlie)
-
BAY KINGFISHER
- Duck South Addict
- Posts: 1827
- Joined: Fri Jul 25, 2003 8:26 pm
- Location: Bay St. Louis ,MS
Re: Documenting my new floor install for your pleasure updat
The guy that finishes all of our unfinished wood jobs does both for filling. I was going to recommend Bostic. and yes Im in the business. If you dont want to nail through the planks just use pieces of scrap nailed next to your run to hold it in place and blue tape where needed.
HRCH Mr. Buck's Delta Do "Dee" MH
-
jacksbuddy

- Duck South Addict
- Posts: 4874
- Joined: Thu Dec 22, 2005 1:24 pm
- Location: In the office and pretending to work
Re: Documenting my new floor install for your pleasure updat
Well h311, I'm impressed! I've got some home improvements to do myself, but I'll admit that this is over my head. (A man's got to know his limitations.) I will be watching your progress to see if there are any tips that I can learn. Nice job.
Nobody owes you anything.
-
bulldog ducker
- Duck South Addict
- Posts: 1080
- Joined: Sun Jan 30, 2005 3:44 pm
- Location: Madison MS
- Contact:
Re: Documenting my new floor install for your pleasure updat
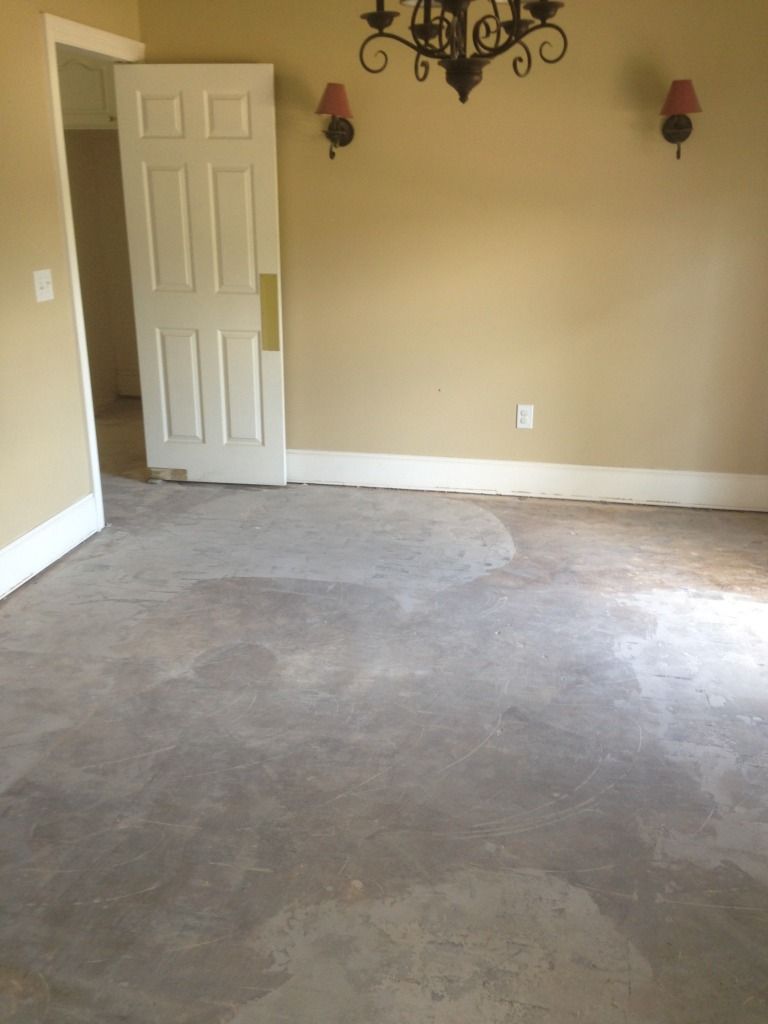
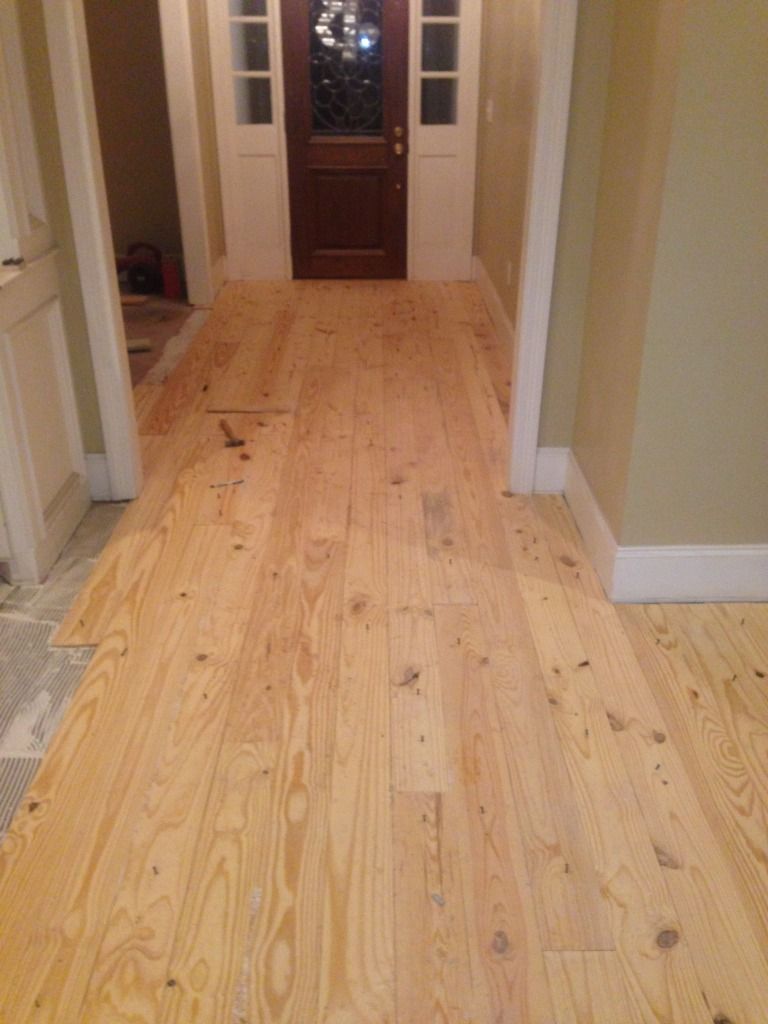
Will give a rundown of what I got done tomorrow but here is a pic if the front door.
HR Dutch Charles Sampson Bearden ( Charlie)
-
champcaller

- Duck South Addict
- Posts: 6157
- Joined: Sat Dec 13, 2003 12:54 pm
- Location: madison ms
Re: Documenting my new floor install for your pleasure updat
Looking great so far!
-
bulldog ducker
- Duck South Addict
- Posts: 1080
- Joined: Sun Jan 30, 2005 3:44 pm
- Location: Madison MS
- Contact:
Re: Documenting my new floor install for your pleasure updat
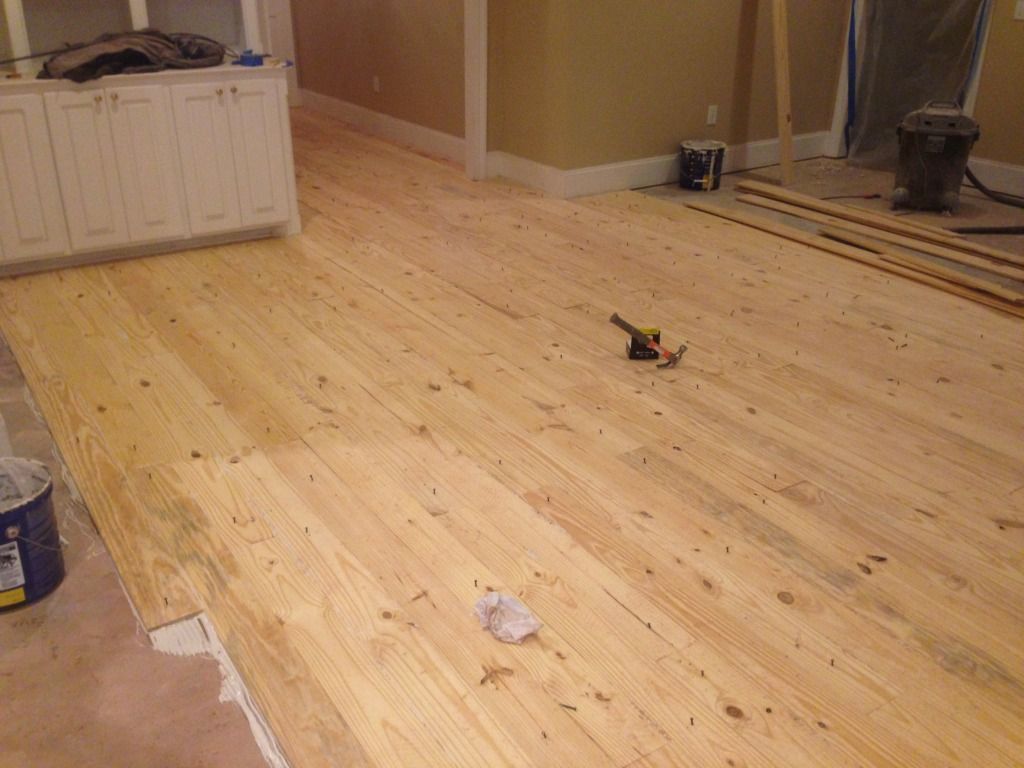
Alright at this point this sucks... Don't get me wrong everything is looking good (I think). I am some what of a perfectionist when it comes to things in the house. I don't have any experience with pine flooring before this attempt and I am learning as I go. I have not (knowingly) screwed anything up that wont be covered up when it is sanded and finished. Here are a few things that as a DIYer doing this type floor that you should do/not do.
1. Don't give yourself a time limit... It adds to stress level which in my case is already high due to me wanting everything to look perfect.
2. Don't expect every board to lay nicely against the next. I takes alot of pulling and pushing to attain that and even then there are some small (1/10th to 1/8th in) voids to fill with putty.
3. Get some help... I attempted to lay some floor by myself yesterday before my help arrived and that was a disaster. Luckily they got there before the glue cured.
4. Take time off of work. I am working 8 hours and coming home and putting in as much time as my help will help me (last night till about 12:30). I have been exausted since we started this due to having #1 on my mind.
At this point would I do it again....NO
Do I expect to be happy/proud that I did it myself...Absolutely
So far I am a few bucks under $2000 on a job that I was quoted around 10K to do. I think I may let someone else come in and do the sanding and finishing with some experience that will be more able to cover all of the installers(me) mistakes.
Will update with more pics of what I get done tonight.
HR Dutch Charles Sampson Bearden ( Charlie)
-
BIG TIMBER

- Duck South Addict
- Posts: 1114
- Joined: Mon Dec 30, 2002 11:14 am
- Location: Port Gibson
Re: Documenting my new floor install for your pleasure updat
Very smart, better leave that sleeping dog alone!!!I think I may let someone else come in and do the sanding and finishing with some experience that will be more able to cover all of the installers(me) mistakes.
Heres to Long Legged Women, Banded Greenheads, and Long Spurs!!!
-
bulldog ducker
- Duck South Addict
- Posts: 1080
- Joined: Sun Jan 30, 2005 3:44 pm
- Location: Madison MS
- Contact:
Re: Documenting my new floor install for your pleasure updat
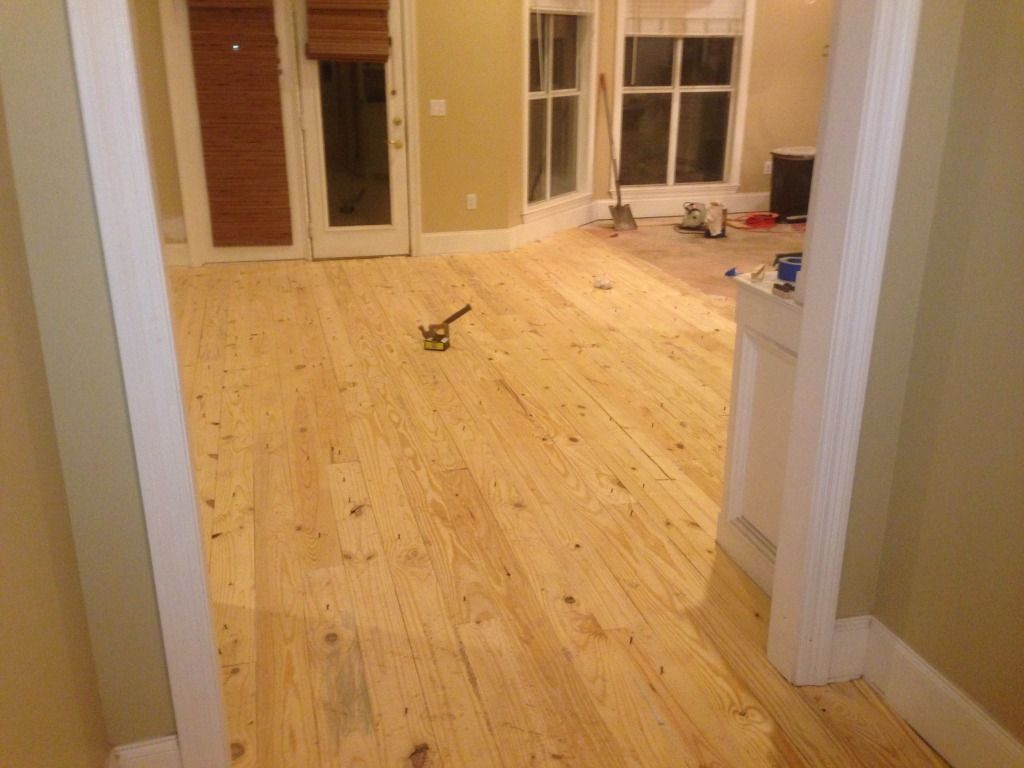
Slowly coming together
HR Dutch Charles Sampson Bearden ( Charlie)
Who is online
Users browsing this forum: Ahrefs [Bot], Amazon [Bot] and 32 guests